Setting up Webpack in ASP.NET Core
Webpack is a great tool for bundling the client side assets in your web application. In this post we'll briefly discuss why you should create bundles and see how Webpack can automate that for us in ASP.NET Core.
Why should I bundle
When building web applications, regardless of the server side framework, you'll need to get your client side resources over to the browser. You may have dozens of JavaScript and CSS files in your project but having to reference each of them individually in your HTML markup is just not ideal for production deployments.
Each browser only allows so many concurrent requests per hostname. BrowserScope has some data on this that you can view on their site. If your web application makes more than the allowed number of simultaneous requests then the additional requests will end up being queued. This leads to longer load times and a not so smooth experience for your users; especially on mobile devices.
It would be much better to group resources into bundles so that the browser would have fewer files to download and thus fewer requests to make. This will help in keeping bandwidth usage low and even with battery life on your users' devices.
What is Webpack?
Webpack is a module bundler for the static assets in your web application. Essentially, you point Webpack at the main entry point(s) of your code then it will determine the dependencies, run transformations and create bundles that you can provide to your browser. What's even better is that in addition to JavaScript Webpack can also handle CSS, LESS, TypeScript, CoffeeScript, images, web fonts and more.
Setting up
We're going to start by setting up a new ASP.NET Core project using the dotnet cli tooling. If you don't have tooling installed, you can find can setup files and instructions here. If you're not a Windows user, the tooling works on Windows, OSX and Linux so no need to worry.
Let's get started by opening a terminal and creating an empty directory. Now, we'll generate a new ASP.NET Core project by running the following command:
dotnet new -t web
Currently, the generated project includes .bowerrc and bower.json files. You can delete these since we'll be using NPM to install packages. If you don't have NodeJS installed on your system, make sure you do so before continuing.
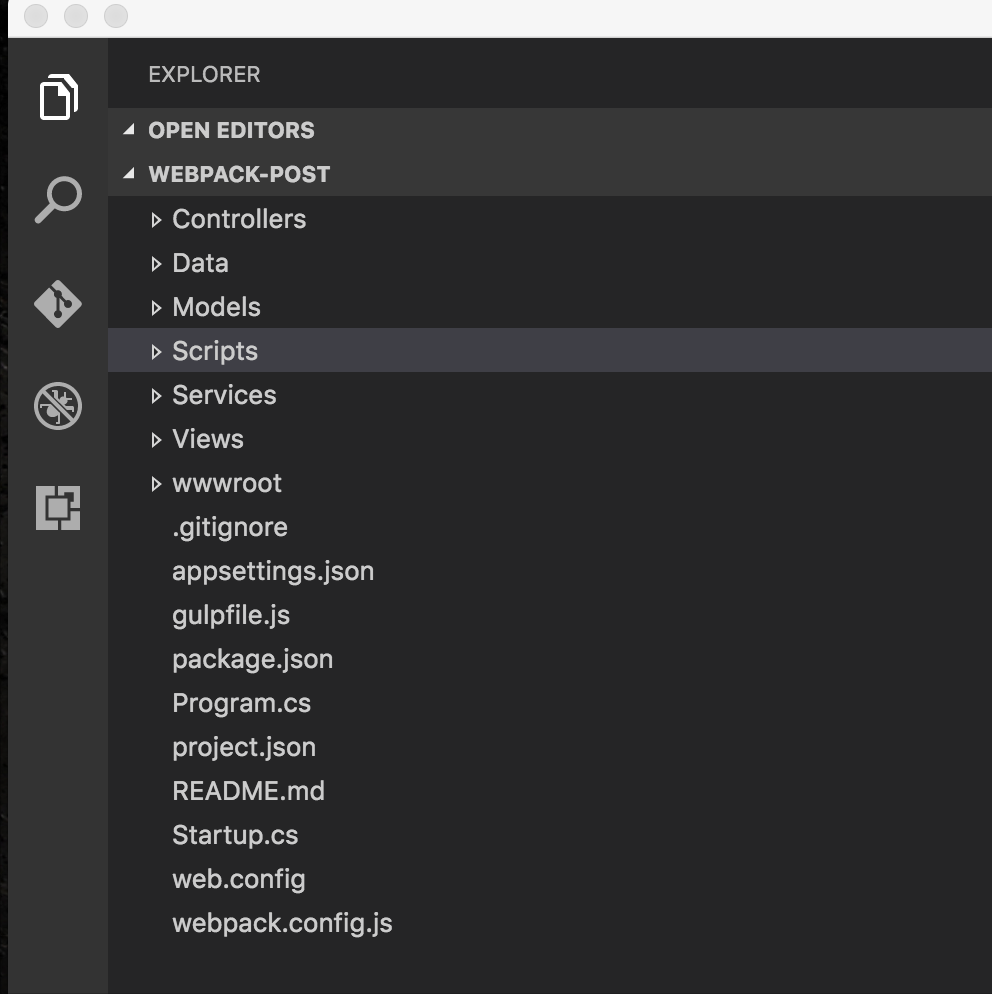
The next thing we'll do is create a folder called Scripts in the root of your project. You'll find out why later on. Also add an empty webpack.config.js to the root of your project. As you might have guessed, this is the file we'll use to configure Webpack. Your project layout should look something like this.

Configuring Webpack
Before we start configuring Webpack, let's check out where our assets actually are. ASP.NET Core places all the files destined for the browser inside of the wwwroot folder by default. If you take a peep inside that folder, you'll see sub folders for your your JavaScript, CSS and image files. Note, the names of these sub folders aren't important. Feel free to rename them if you wish.
Personally, I prefer to reserve the wwwroot folder for the bundles that I want to provide to the browser. What we'll do is use the Scripts directory that was created earlier for the working files that will get included in the bundles.
Let's add two pretty trivial JavaScript files to our Scripts folder.
//other.js
function func() {
    alert('loaded!');
}
module.exports = func;
//main.js
var other = require('./other');
other();Our scripts have been written using the CommonJS module syntax. The main.js file imports other.js and calls the exported function. Ok, simple enough. Let's take a look at webpack.config.js.
var path = require('path');

module.exports = {
    entry: {
        main: './Scripts/main'
    },
    output: {
       publicPath: "/js/",
       path: path.join(__dirname, '/wwwroot/js/'),
       filename: 'main.build.js'
    }
};
The webpack.config.js file is a CommonJS module that we'll use to setup Webpack. The sample above shows a fairly bare bones Webpack configuration. Inside of entry, we define a main module and point it to the location of main.js file since that's where our app starts. The name of the bundle can be changed to something else if you like. There's no requirement for it to be called main. Inside of output, we let Webpack know what to name the bundle file and where to place it. The publicPath property configures the relative URL that the browser will use to reference our bundles.
For the client side scripts we used the CommonJS module format, but Webpack can also work with AMD modules. Whenever Webpack 2 comes out, it will support ES6/ES2015 modules natively.
Alright, that's good for now. Before we generate our bundle, make sure you have Webpack installed globally on your machine. Type the following command in your terminal. You'll only have to do this once.
npm i -g webpack
Now we're ready to create our bundle. Make sure your terminal path is at the root of your project directory. Now run
webpack
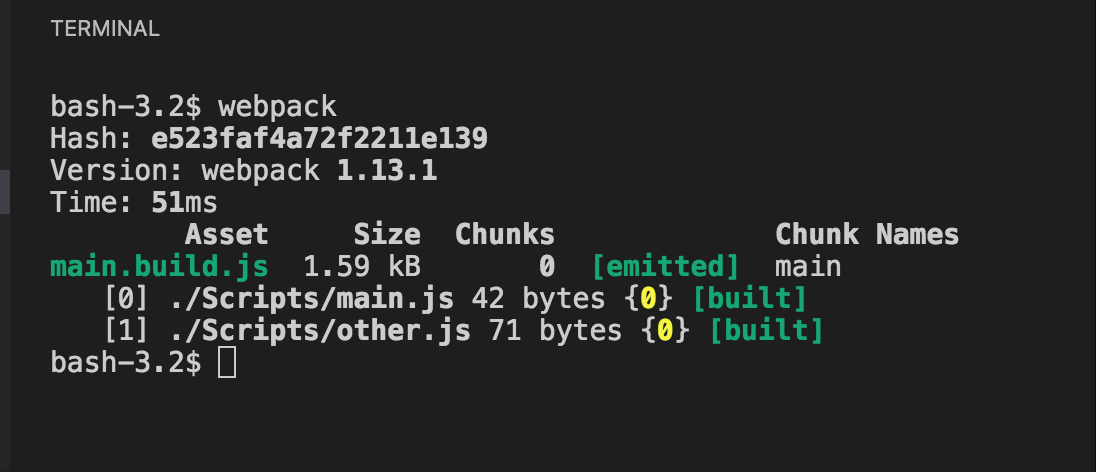
Your terminal output should look similar to below.

In your code editor, open Views/_Layout.cshtml. Near the bottom of the file, add a script reference to our bundle.
The generated ASP.NET Core template adds a few scripts tags wrapped in environmenttag helpers. Go ahead and remove these for now.
    <script src="~/lib/bootstrap/dist/js/bootstrap.js"></script>
    <script src="~/js/site.js" asp-append-version="true"></script>
Finally, we can run our application and see if our bundle works. Execute the following commands in the command terminal.
dotnet restore
dotnet run
Navigate to http://localhost:5000 in your browser. If everything works as expected, you should see an alert with loaded! in the browser window.
Tying the builds together
We can reduce the number of commands we have to type by leveraging the build events in project.json. Update the scripts section to include the precompile event. To see the other available events, head over to the .NET Core Tools docs.
"scripts": {
    "precompile": ["webpack"],
  },
Now running dotnet run or dotnet build will also run Webpack to generate the bundle.
Conclusion
In this post, we got a short introduction to setting up Webpack in ASP.NET Core. Webpack often gets labeled as overly complex and difficult to setup. Hopefully, this post showed you how easy it is to get started and made you a little more curious about what else it can do.
